Written by Celebrates Ireland

Halloween 2025 - 10 Realistic Pumpkin Carving Face Ideas for

  • 0 comments
  • 4 days ago
  • Art and Crafts

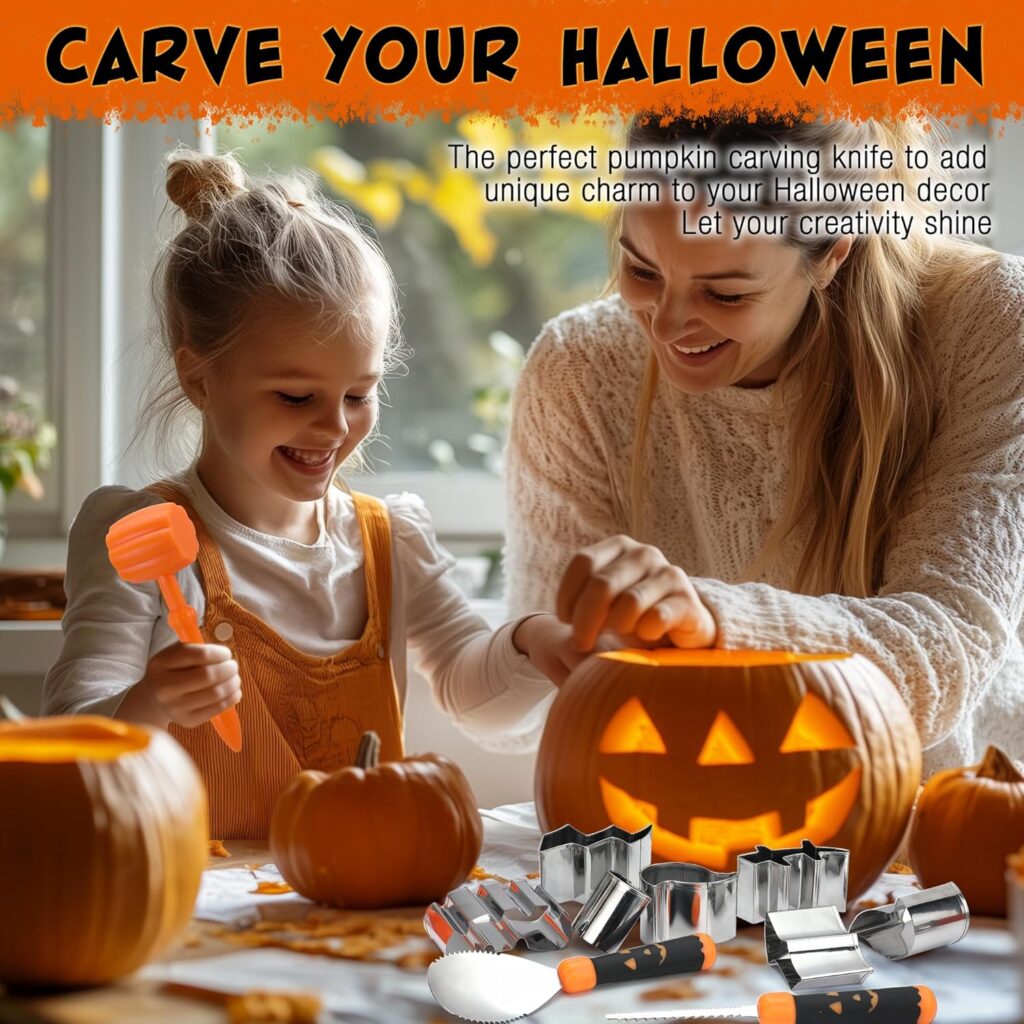
Nothing says Halloween 2025 in Ireland like a glowing pumpkin on your doorstep! 🍂 Whether you’re planning a spooky night in, a local party, or a fun family craft afternoon, carving pumpkins is the perfect way to get into the Halloween spirit.

Here are 10 creative pumpkin carving face ideas — each with a short description and easy cutting guide to help you create your own realistic, glowing masterpiece. 🕯️
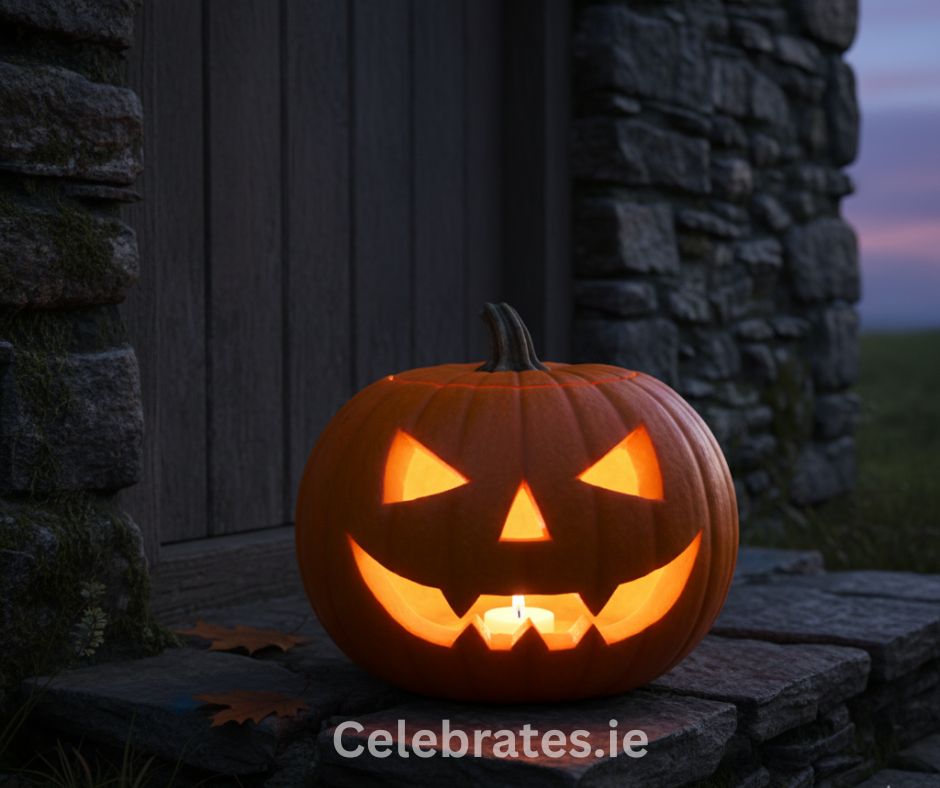
1. The Classic Jack-O’-Lantern

A traditional carved pumpkin with triangle eyes and a toothy grin glowing warmly on a doorstep surrounded by autumn leaves. Halloween 2025

Description:
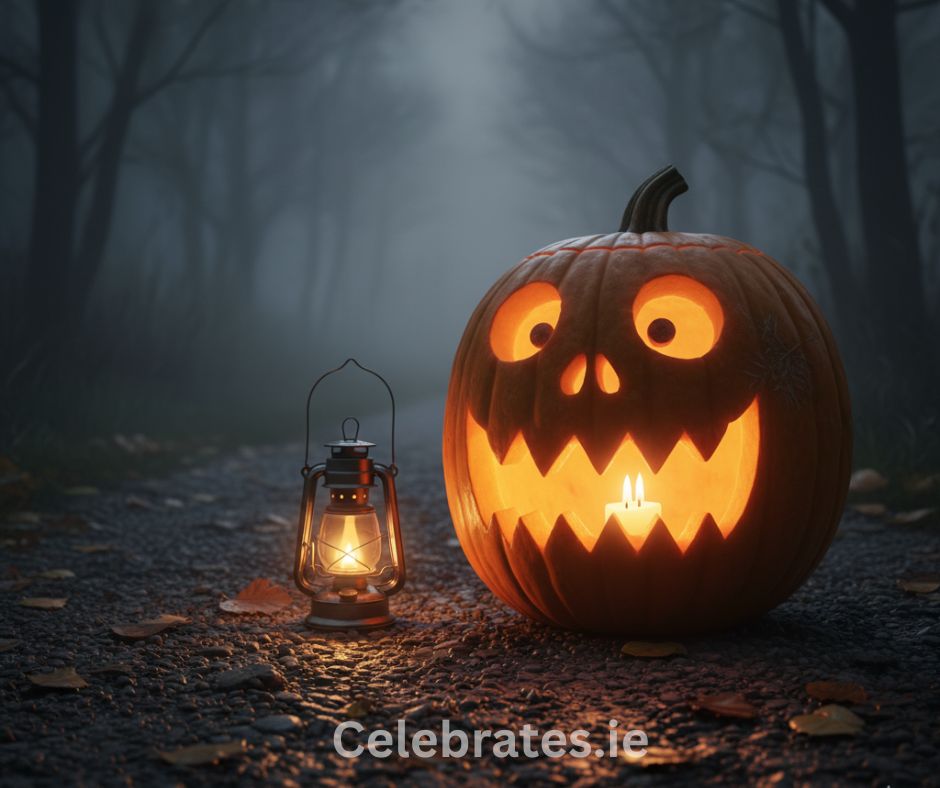
The traditional Jack-O’-Lantern never goes out of style. It’s simple, cheerful, and instantly brings that warm Halloween feeling to your doorstep.

How to Cut:

  1. Draw triangle eyes and a wide smile with a few missing teeth.
  2. Cut the top off the pumpkin and scoop out the seeds.
  3. Use a small serrated knife for control while cutting the face.
  4. Place a candle or LED light inside for that golden glow.

💡 Tip: Lightly scrape the inside wall behind the face to make the glow brighter.
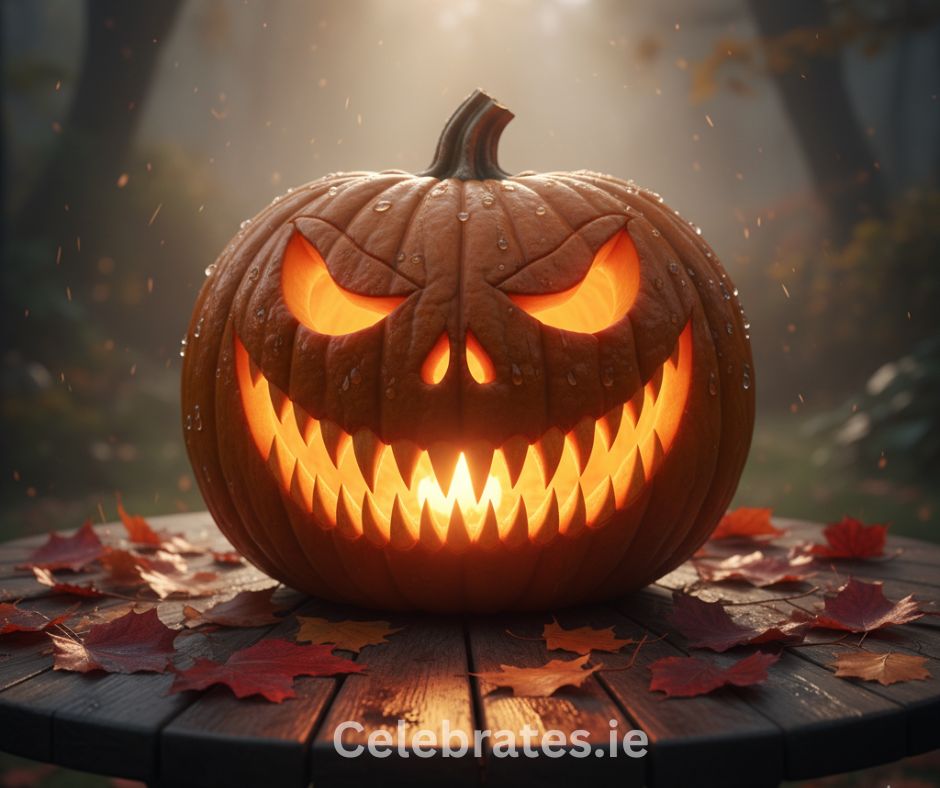
2. The Evil Grin

A large pumpkin carved with sharp teeth and slanted eyes, glowing fiercely in an Irish garden at dusk.Halloween 2025

Description:
Want to scare the neighbours? This design has sharp, jagged teeth and slanted eyes for a mischievous, menacing grin.

How to Cut:

  1. Sketch slanted triangle eyes and a long, curved mouth with uneven teeth.
  2. Use a fine carving tool or a precision knife for the small edges.
  3. Keep the teeth slightly uneven — imperfection makes it creepier!

💡 Tip: Add red or orange glow sticks inside for a fiery effect.
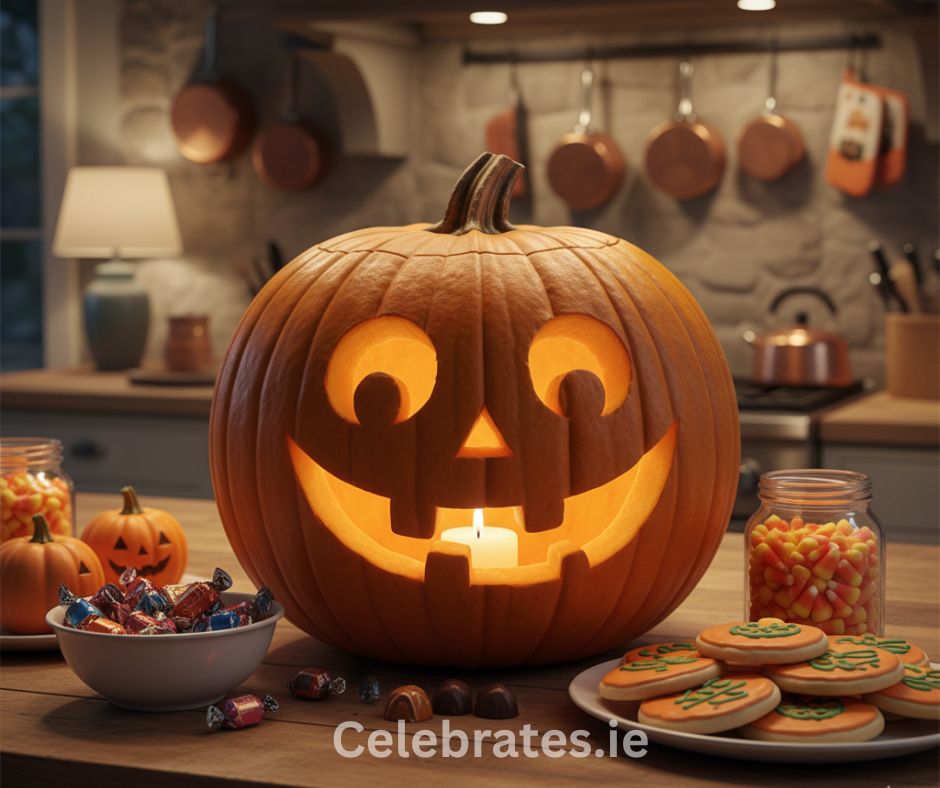
3. The Goofy Smile

A cheerful pumpkin with big round eyes and a goofy smile, lit from inside, sitting on a kitchen counter.

Description:
A family favourite! This one is friendly, funny, and great for kids to help design.

How to Cut:

  1. Draw large round eyes and an exaggerated, curved mouth.
  2. Carve slowly to keep the round edges smooth.
  3. Pop in a flickering LED for that cartoon-like look.

💡 Tip: Add eyebrows for extra character — use pumpkin skin cut-outs attached with toothpicks.

Halloween Pumpkin Carving Set, Carving Tool Pumpkin, Halloween Pumpkin Carving Kit, Halloween Decoration Pumpkin Carving Knife, Stainless Steel DIY Carving Set Templates for Children Adults with LED

  • Pumpkin Carving Tools Our carving tools set includes 1 spoon, 1 cookie cutter, 10 carving templates, 6 LED lights. The engraving stencil is made of high quality and strong stainless steel, is very durable and reusable, no rust problem and does not break or deform easily. Whether you are a beginner or professional engraver, it can meet your different needs.
  • CHILD SAFE The top of the carving template is curved to protect hands. With the other end of the carving template, the pumpkin can be cut by hammering, but also touching it does not harm the skin. The beautiful Halloween pumpkin carving set is ideal for all ages and absolutely safe for children!
  • EASY CUTTING: Carving templates with your own shapes can be used in different combinations to personalize your Halloween pumpkin. This saves you a lot of time and increases your success rate. Make your pumpkin look fun and creepy! Makes pumpkin carving even more fun!
  •  

4. The Screaming Pumpkin

A tall pumpkin carved with a wide open mouth and round eyes, glowing brightly on a foggy outdoor path.

Description:
This one looks like it just saw a ghost! Great for dramatic Halloween displays or garden corners.

How to Cut:

  1. Draw a large oval mouth and two wide, round eyes.
  2. Carve deeply to give the mouth a hollow “screaming” effect.
  3. Smooth out the edges to make the expression pop.

💡 Tip: Use a small pumpkin inside its mouth to look like it’s “eating” another!
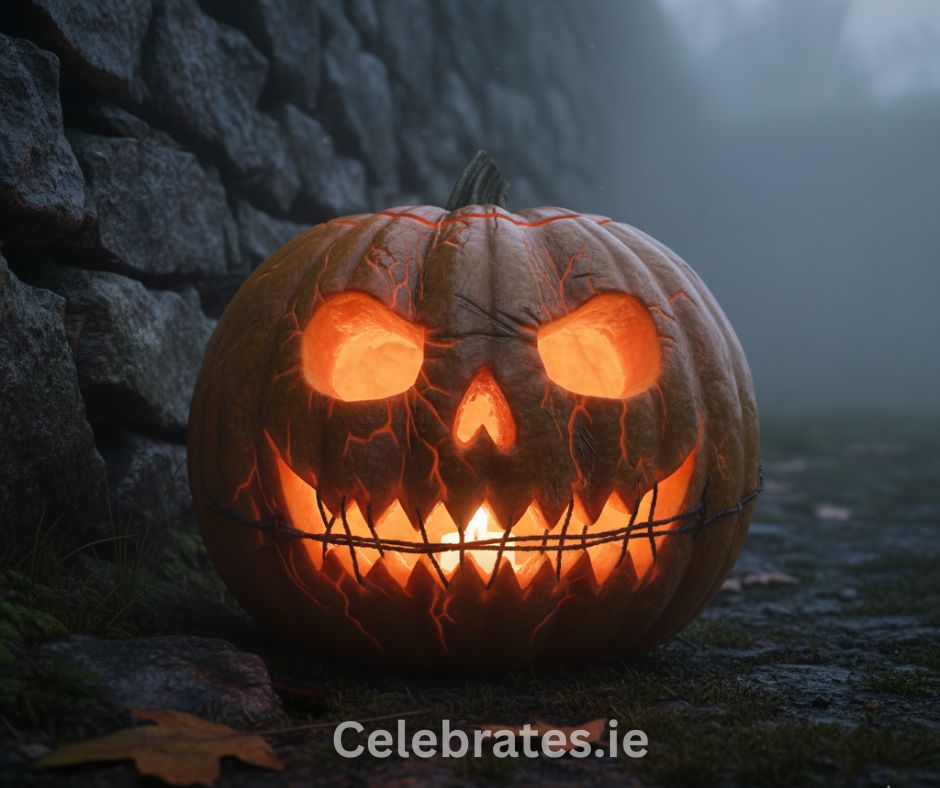

5. The Skeleton Face

A skull-inspired pumpkin carving with hollow eyes and a stitched mouth, candlelight shining through thinly cut details.

Description:
Creepy yet stylish — the skeleton face gives a spooky skull look that glows beautifully in the dark.

How to Cut:

  1. Draw large eye sockets, a triangle nose, and a stitched mouth line.
  2. Use a small knife for thin “stitch” details on the mouth.
  3. Scrape inside lightly behind thin cuts for glowing effect.

💡 Tip: This design works best on a medium or tall pumpkin.
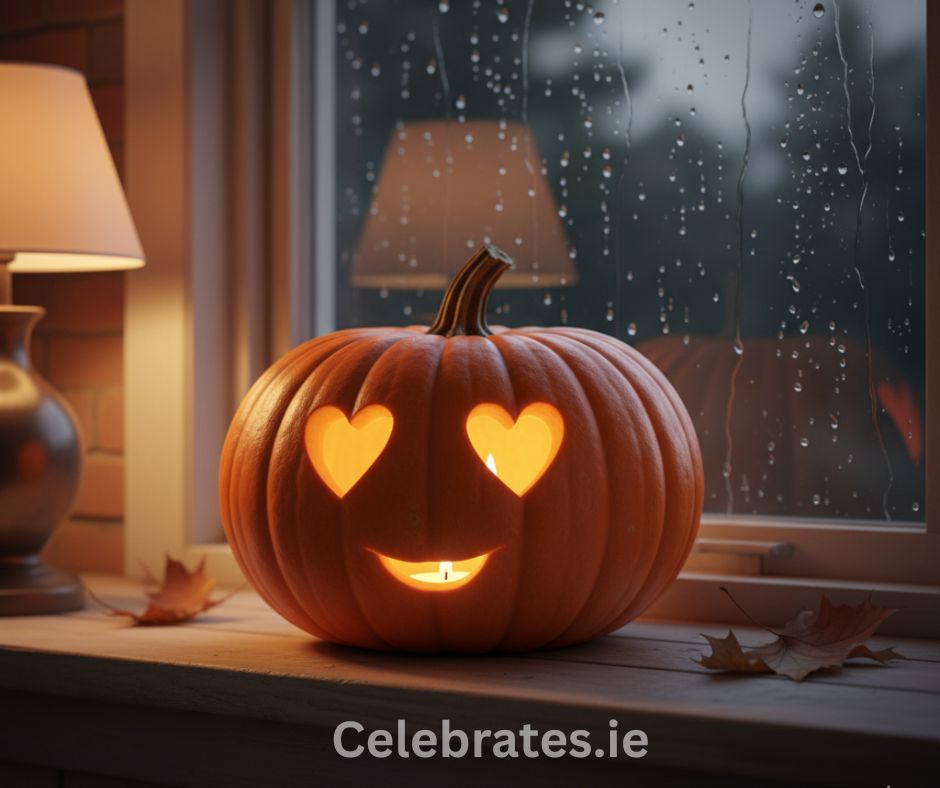

6. The Heart-Eyes Pumpkin

A cute pumpkin with heart-shaped eyes and a smiling mouth, glowing softly on a windowsill during Halloween night

Description:
For those who love a cute twist! This pumpkin has heart-shaped eyes and a small smile — adorable and cheerful.

How to Cut:

  1. Use a heart-shaped cookie cutter as a stencil.
  2. Gently hammer it into the pumpkin to start your shape.
  3. Cut out the rest with a small knife and add a curved mouth.

💡 Tip: Perfect for romantic Halloween decor or couples’ nights.
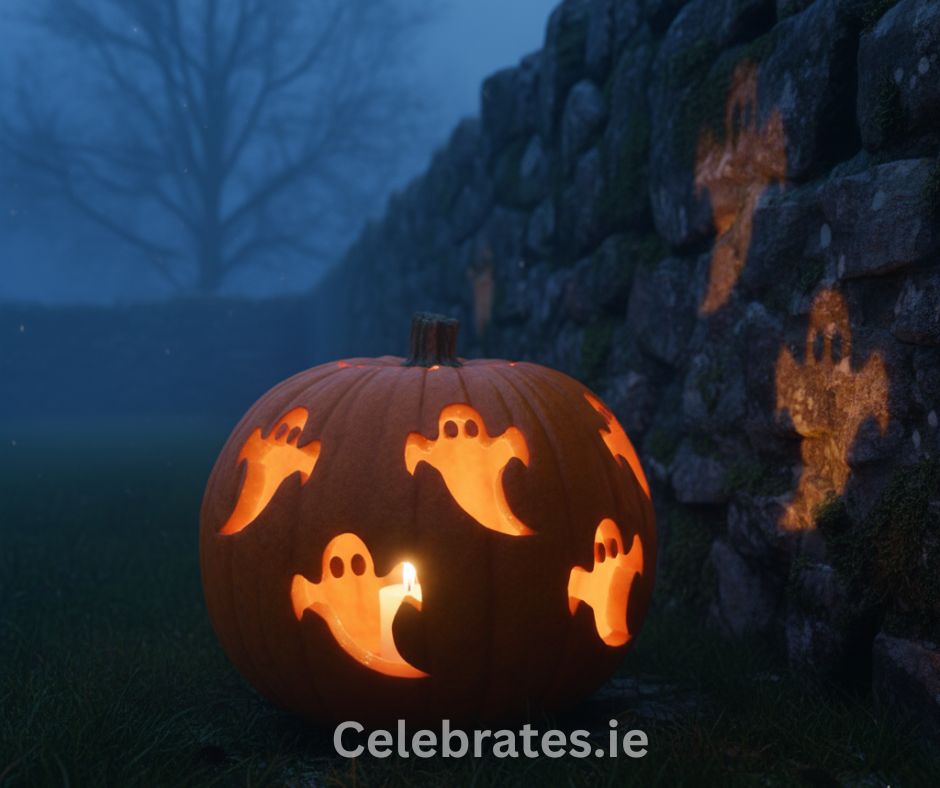

7. The Ghost Face

A carved pumpkin featuring small ghost shapes that glow through the surface, placed in a misty garden setting.

Description:
A haunting yet minimalist look — carved ghost shapes instead of a face for a mysterious glow.

How to Cut:

  1. Draw small ghost outlines randomly across the pumpkin.
  2. Cut them carefully to keep their shapes crisp.
  3. Place a candle inside so the ghosts project shadows on walls.

💡 Tip: Use different depth levels when carving to create 3D glowing ghosts.
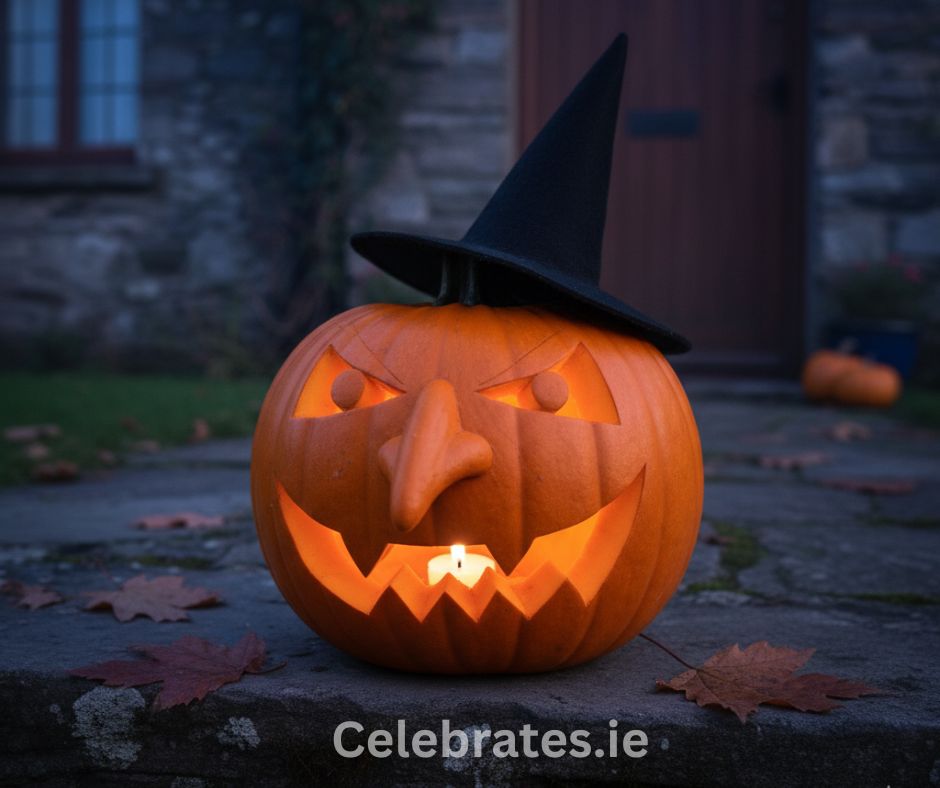

8. The Witch Pumpkin

A pumpkin with a witch face carving, complete with a crooked smile and pointed nose, wearing a small black hat.

Description:
This one’s full of personality — a crooked smile, a pointy nose, and eerie eyes for a witchy vibe.

How to Cut:

  1. Draw a side-profile face with a hooked nose.
  2. Use a thin knife to carve detailed facial lines.
  3. Place a small witch hat on top for finishing touch.

💡 Tip: Paint the hat black and add a purple ribbon for extra Halloween flair.
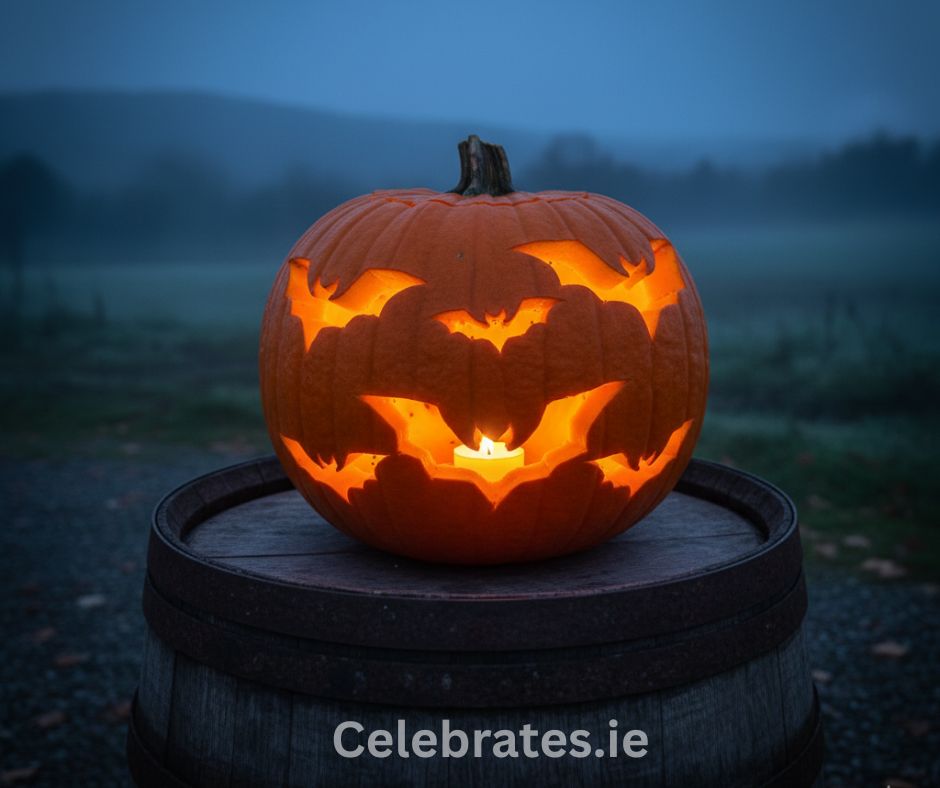

9. The Bat Pumpkin

A pumpkin carved with flying bat silhouettes, glowing from inside on a wooden barrel surrounded by autumn leaves.

Description:
Turn your pumpkin into a scene of flying bats! Subtle, creative, and stunning when lit up.

How to Cut:

  1. Print or draw simple bat silhouettes in different sizes.
  2. Tape them onto your pumpkin and trace around with a marker.
  3. Cut carefully — the bats look best when they’re thin and sharp.

💡 Tip: Add small holes around the bats to create a glowing night-sky effect.
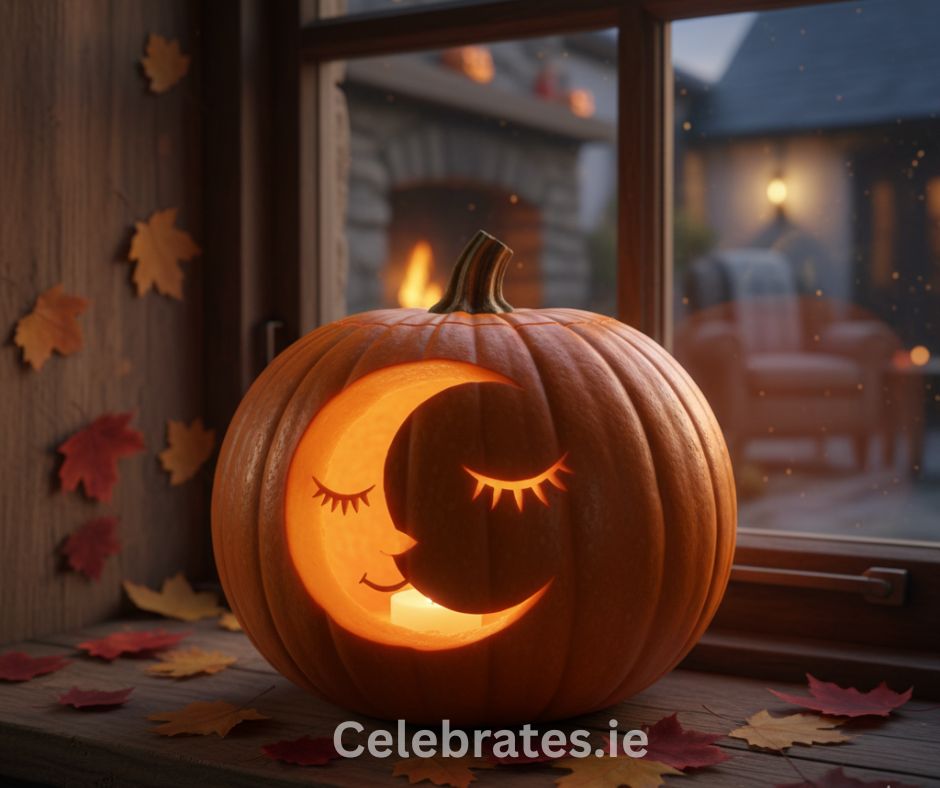
10. The Sleepy Moon Pumpkin

A pumpkin carved with a crescent moon face and closed eyes, softly glowing on a windowsill with fall leaves nearby.

Description:
For a softer, magical Halloween vibe, try carving a sleepy moon face into your pumpkin. It’s unique, elegant, and gives off a peaceful glow — perfect for those who prefer charm over chills. 🌙

How to Cut:

  1. Lightly sketch a crescent moon shape on one side of the pumpkin.
  2. Inside the crescent, draw a closed eye, small nose, and a calm smile — like a sleeping face.
  3. Use a fine carving tool or craft knife to cut out the facial features gently.
  4. Scrape the inner wall behind the crescent thin, so the light glows softly through.

💡 Tip: Place your pumpkin near a window or porch railing to let the gentle moonlight-like glow show off your handiwork.

© All rights reserved. Celebrates.ie